Preface Link to heading
The VPS I bought before is about to expire and I want to find a new platform to run my website. Also I know Phicomm N1 can be a linux server, so I planning to set up my idle Phicomm N1 as a linux server to run my website.
Prerequisites Link to heading
So what do we need first?
- N1
- Udisk 8G
- Windows computer
- Display
- Double ended USB cable
- HDMI cable
- Mouse/Keyboard
- Software/Firmware
- Download(9tzd):
N1 All-In-One
- Download(9tzd):
Steps Link to heading
You need to perform follow steps, of course you can skip the first step if you have already done it.
1. Downgrade Link to heading
If you’ve never been downgraded, you only have to do it once in your life. If you’d downgraded, you don’t need to downgrade again.
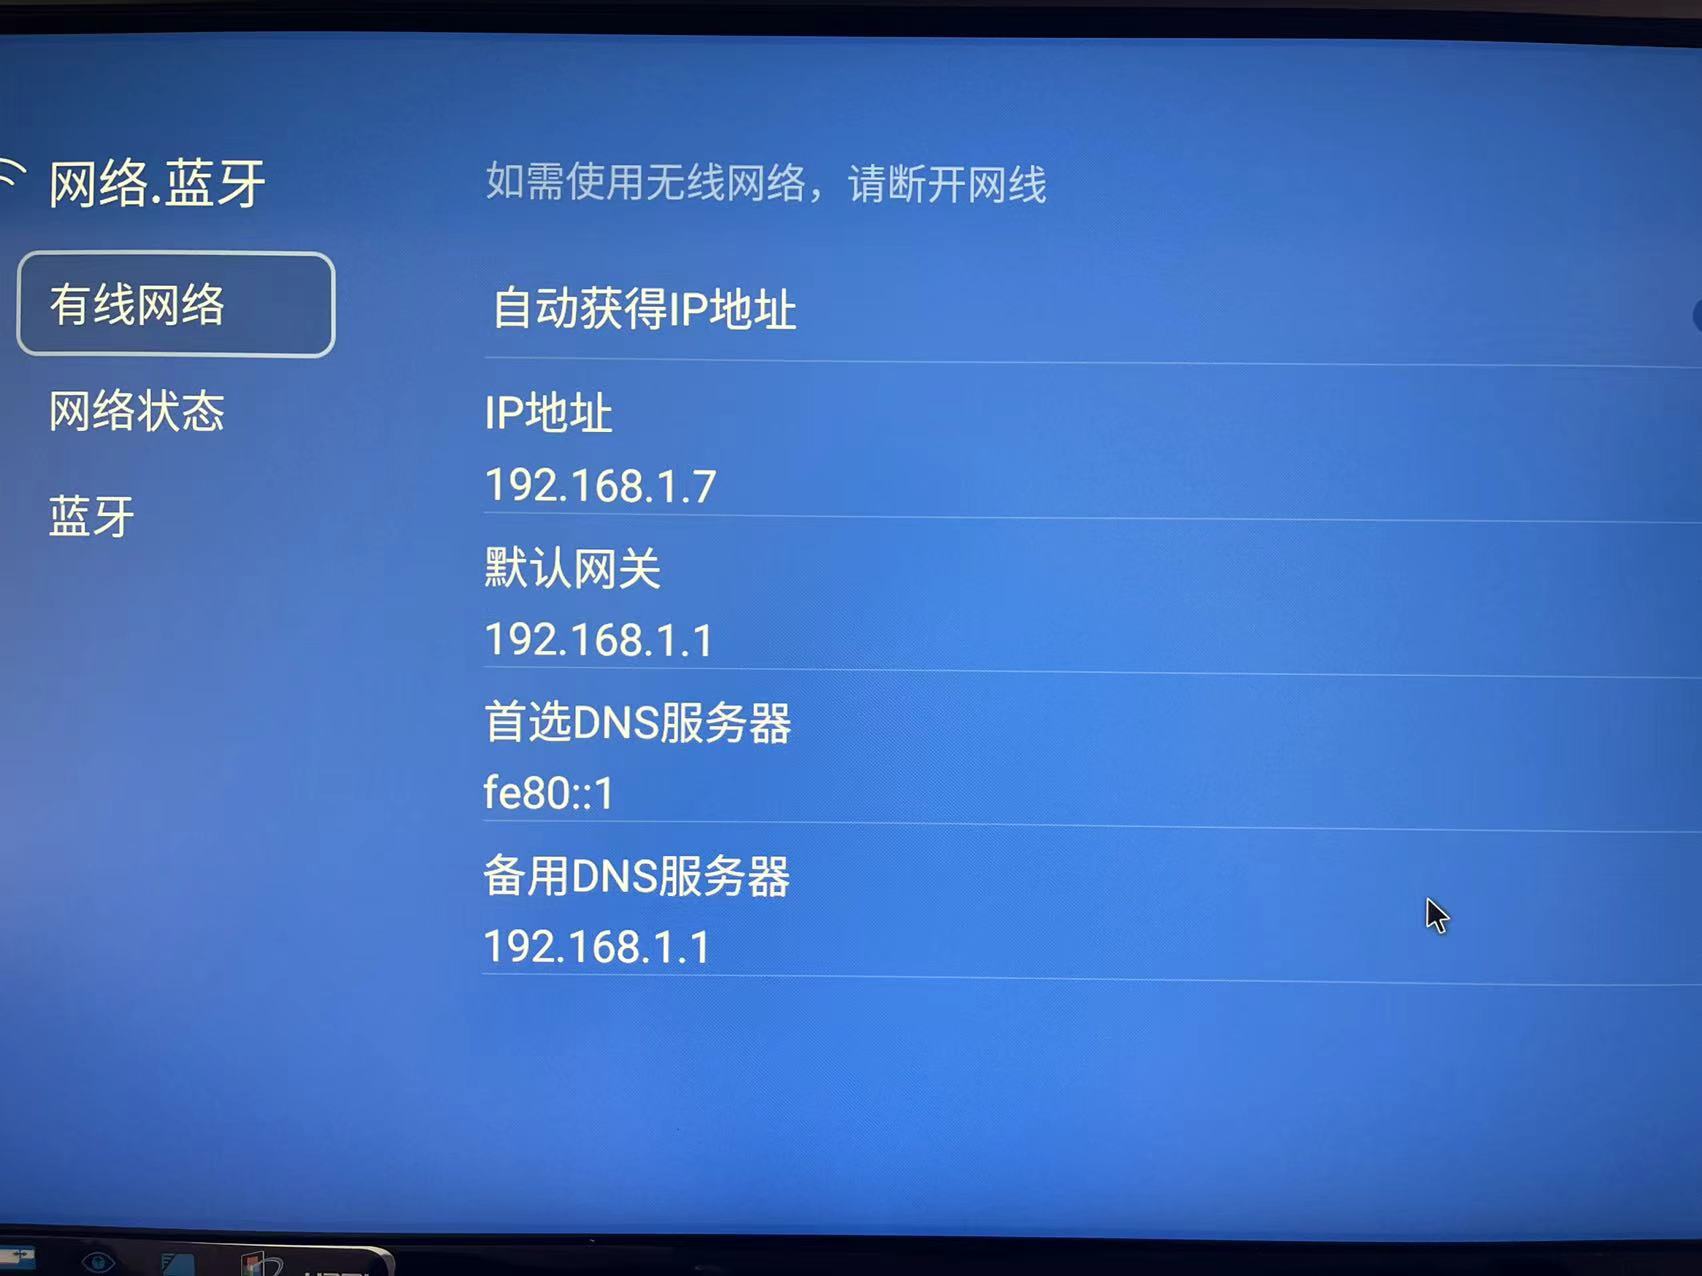
- Record IP address of N1
- Find run.bat in the
N1 All-In-Oneand run it - Just follow the prompts
Also you can visit this post to know how to downgrade N1. If your N1 is bricked, check this post to force flash back to Android TV system.
2. Install Armbian Link to heading
There are two ways to install armbian on N1. But first, you should connect HDMI between N1 and Display to monitor what happened in this time.
2.1 Pure Install(Recommend) Link to heading
With this way, you need to re-install Android TV system on N1. All of these files you can find in the N1 All-In-One.
- Download webpad 2.2 ROM and USB Buring Tool, install webpad 2.2 on N1
- Open USB Buring Tool and import webpad 2.2 ROM
- Disable wipe bootloader and wipe flash on the right side of USB Buring Tool
- Connect double ended USB cable between computer and N1(use USB port near HDMI) first
- N1 connect to power and wait USB Buring Tool to recognise N1 device
- After then, click Start and wait it to finished
- When it was finished, disconnect double ended USB cable first, then Stop the USB Buring Tool and exit it, disconnect power of N1
- Run script
Uboot.batto set up N1 boot from Udisk - Making an armbian Udisk, you can use Rufus to buring
- Use 5.77 version and correspoding dbt file
- If you want to use latest builds of armbian, please check this repo
- After buring, use DiskGeniu to open Udisk and copy dbt file into dbt folder
- After that, edit uEnv.ini on the root folder, change first line with placed path of dbt file you copied just now
- Remove Udisk, you got an armbian Udisk now
- Use 5.77 version and correspoding dbt file
- Insert armbian Udisk into N1(use USB port near HDMI) first, do not connect N1 power
- You must insert armbian Udisk into first USB port on N1 from left to right
- You must insert armbian Udisk into N1 when it was powered off
- Now, connect the power of N1
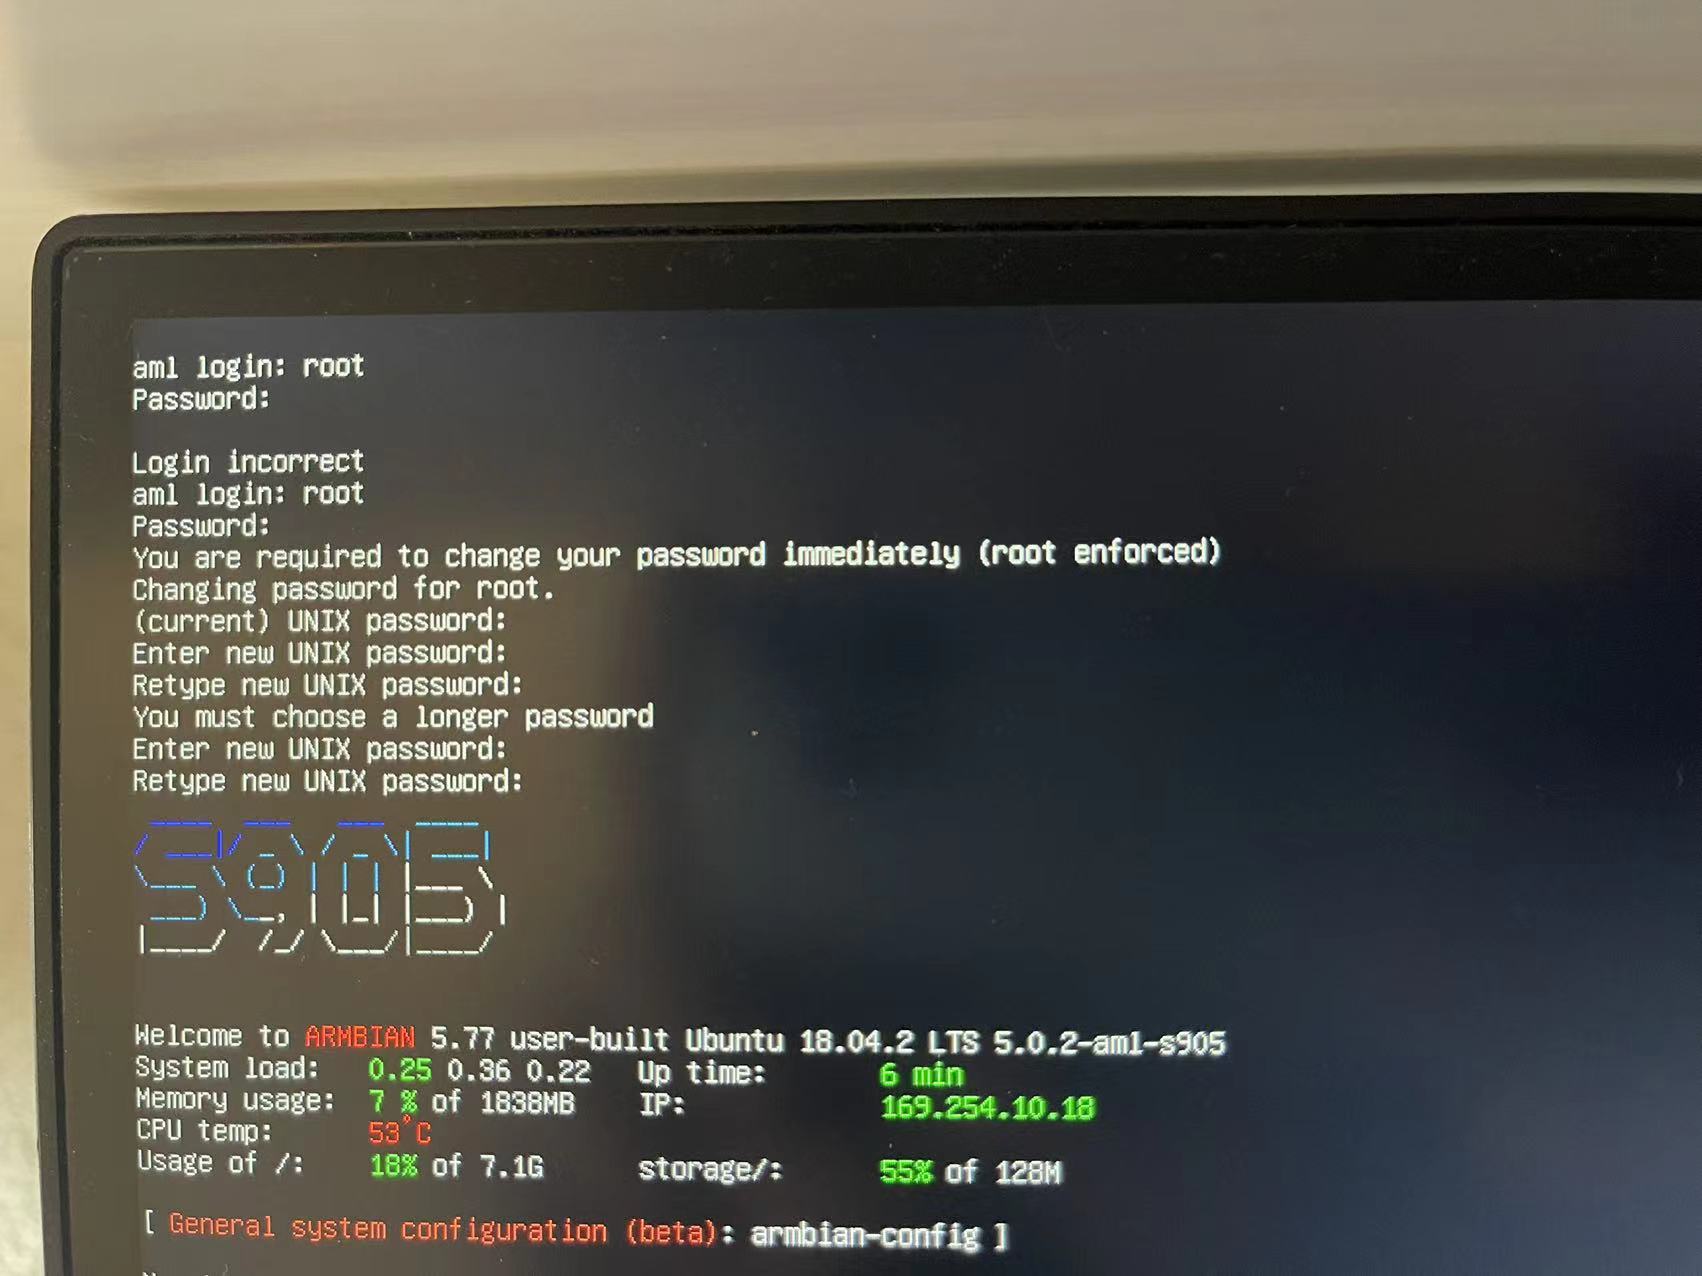
- If it works, you will see the boot log on the Display
- If not, making another armbian Udisk
- Setting up armbian right now
- username: root
- password: 1234
- After this, run the command
./install.shto install armbian on the eMMC, then you got armbian linux server- Do not use command
nand–sata-installto install armbian on the eMMC, it’s ain’t work
- Do not use command
- That’s all
2.2 Dirty Install Link to heading
N/A.
3. Setting Up Armbian Linux Server(Optional) Link to heading
Here offerd some links you can reference:
- https://www.dragoncave.me/2019/07/armbian-on-n1.html
- https://www.right.com.cn/forum/thread-430903-1-1.html
- https://post.smzdm.com/p/alpwnxmp/
- https://wayjam.me/posts/n1-flash-with-armbian/
Show Time Link to heading
- After re-install webpad 2.2 ROM

- Installed armbian on N1

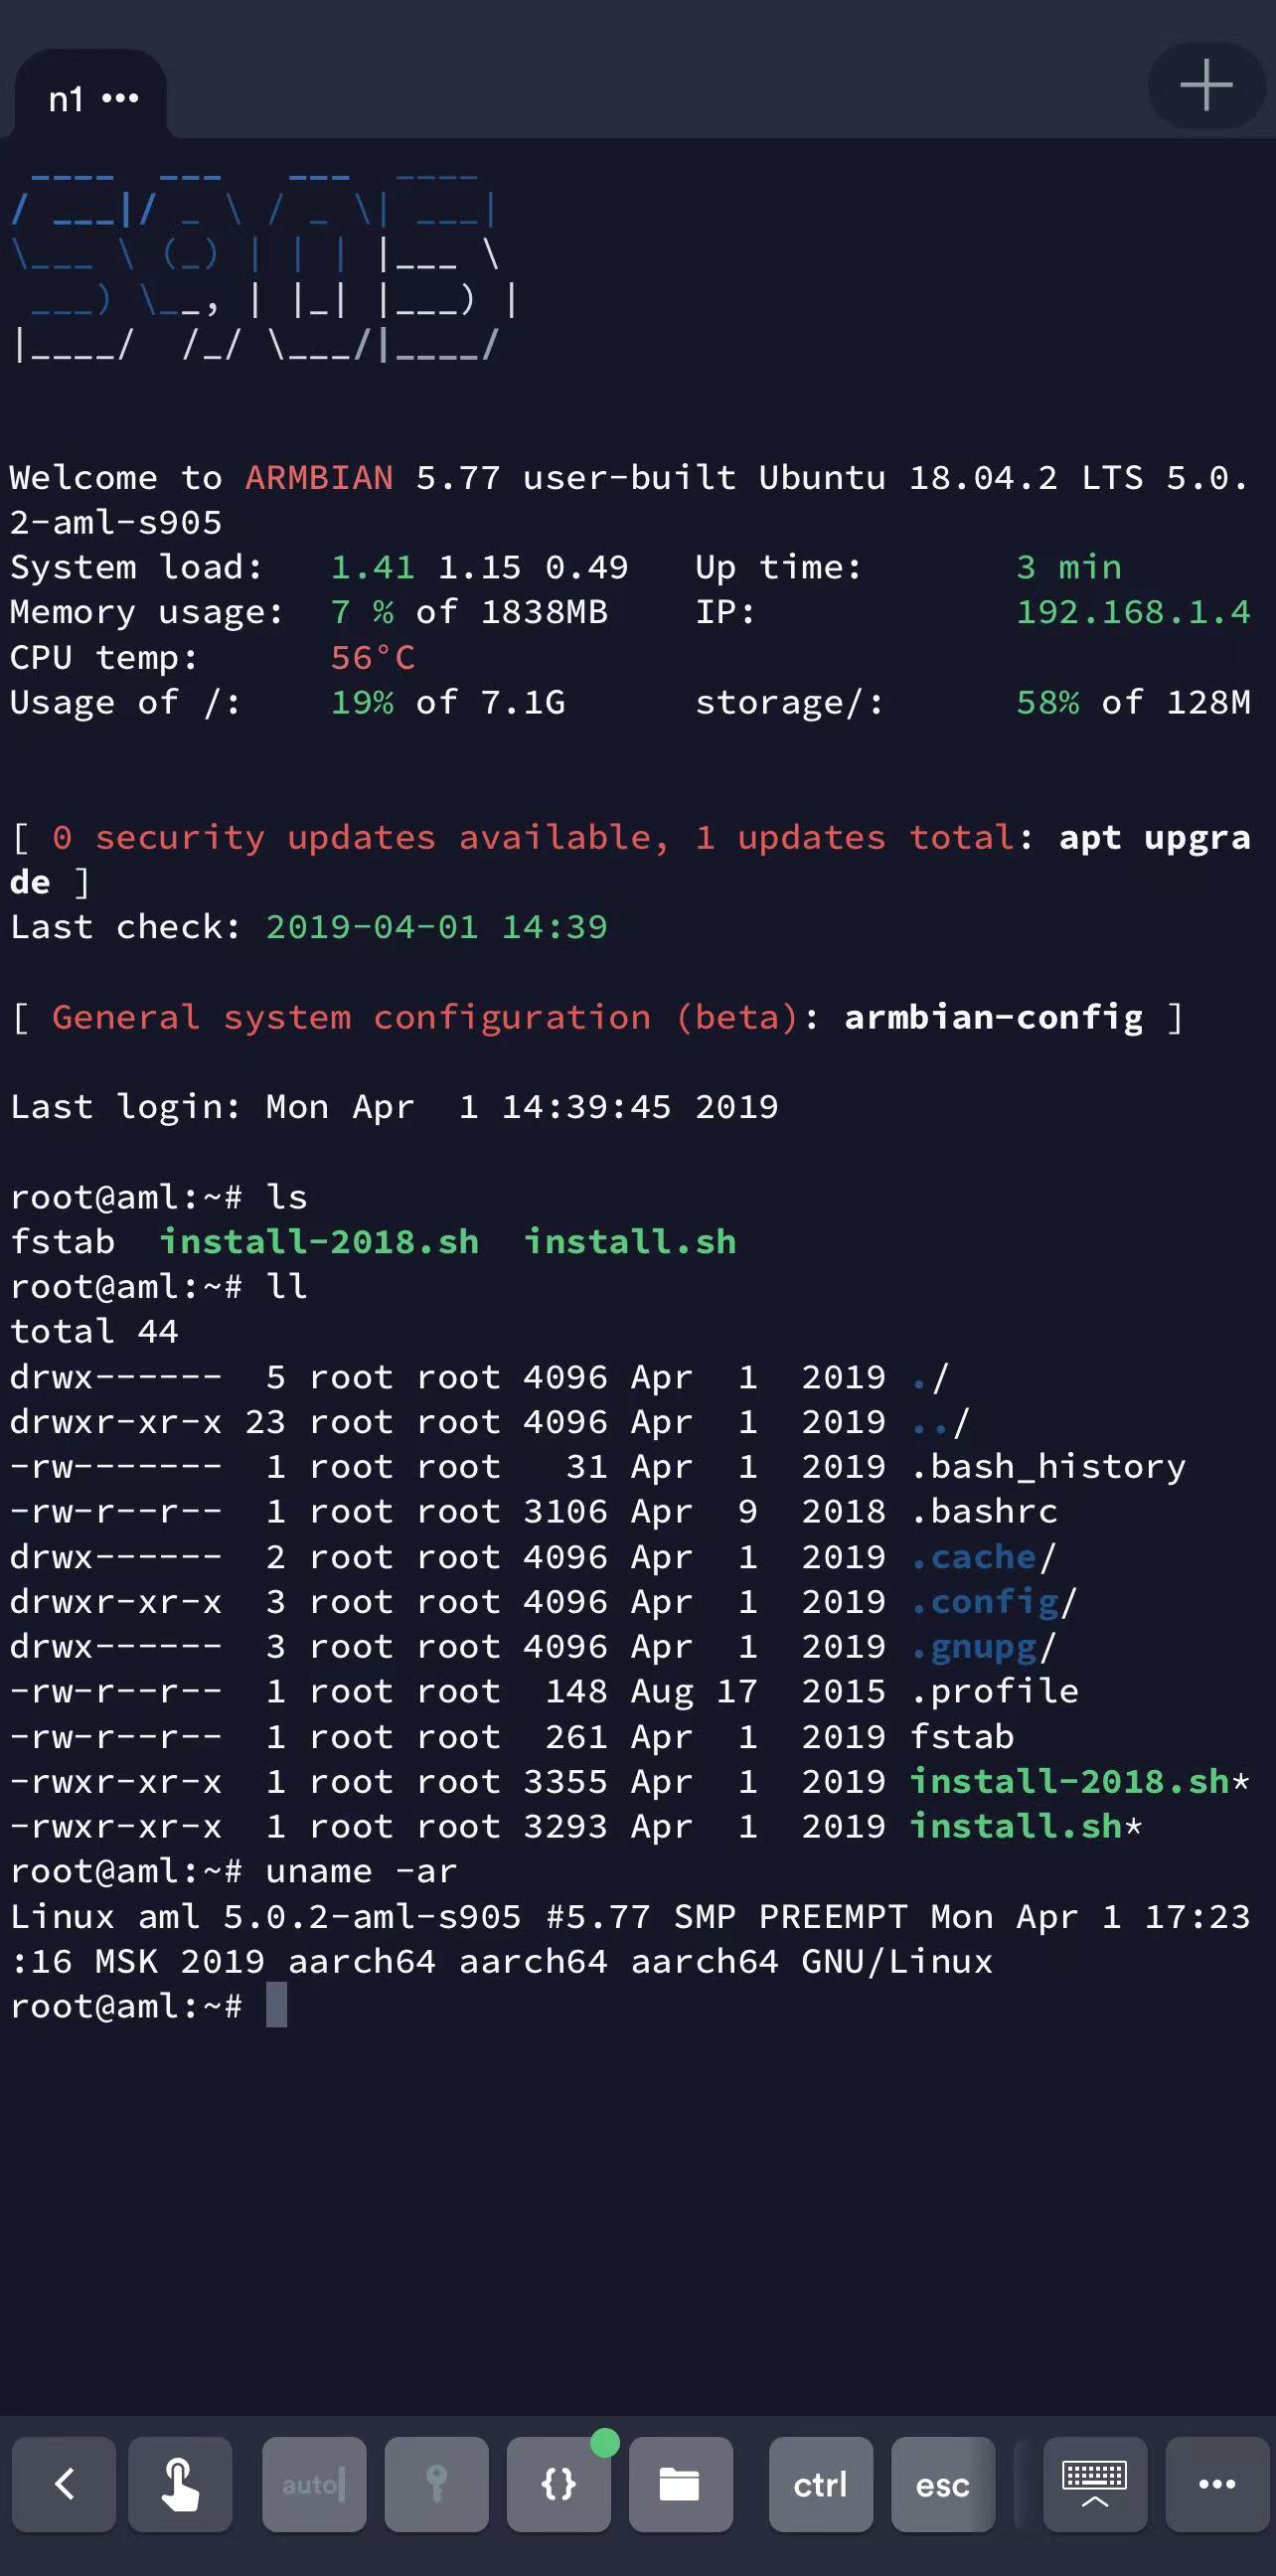
- Use Termius to connect armbian linux server

Summary Link to heading
Now, we got a basic armbian linux server, next step I’ll run my website on it, and do some measures to enable intranet penetration.
Enjoy~
That’s True Link to heading
A phenomenon I have encountered is that I use a switch to connect N1 and internet, every time I restored the N1, the switch will reassign the IP address, so I can’t use the previous IP address to connect, but it doesn’t matter now, I guess.